Concept: Designing a bank of two 100 Watt LED’s to use them under a drone.
Reading Time: 3 minutesAs part of a request from a marketing agency that was planning a special project for one of its clients, I was asked to design a drone that could carry a bright light source and also to develop the appropriate light source. Their idea was to present a new motorhome in the middle of the night on a green hill in the Allgäu region. On the one hand, the vehicle was to be filmed from the air, but on the other hand, no light sources on the ground were allowed to disturb the aesthetics. I accepted the challenge.
Quality of light?
A light source should not be evaluated solely on the basis of its brightness – especially for photo or video recordings – as the quality of its color rendering is an equally important criterion. This refers to how closely the light produced approximates the natural spectrum of the sun. The term “color rendering index” is used to quantify this property of artificial light sources.
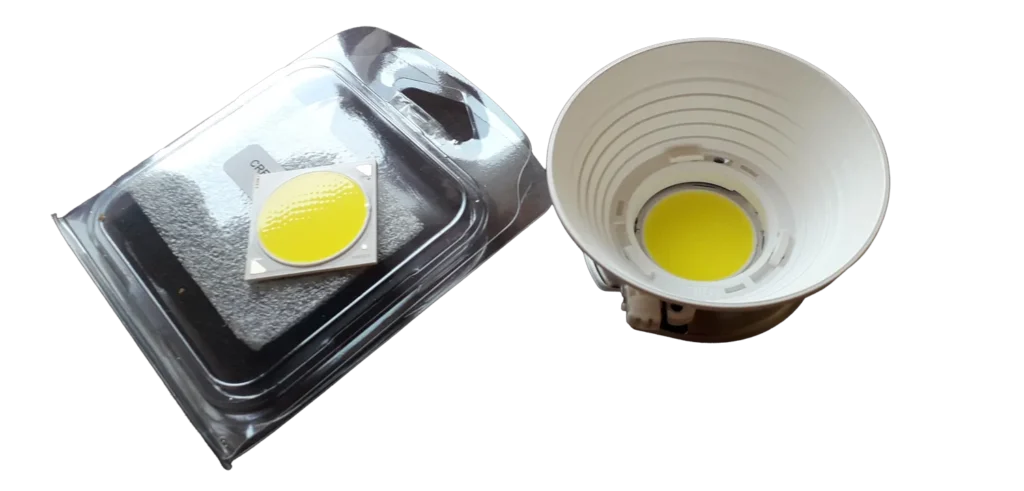
While searching for high-power LEDs with a high color rendering index (CRI), I stumbled across Cree’s COB LEDs, namely the XLamp® CXB3590. These produce around 15,000 lumens at their maximum power of 106 watts and, depending on binning, are available with high CRI values. Two of them would generate around 30,000 lumens, more than enough to light up the night.
Keep it cool
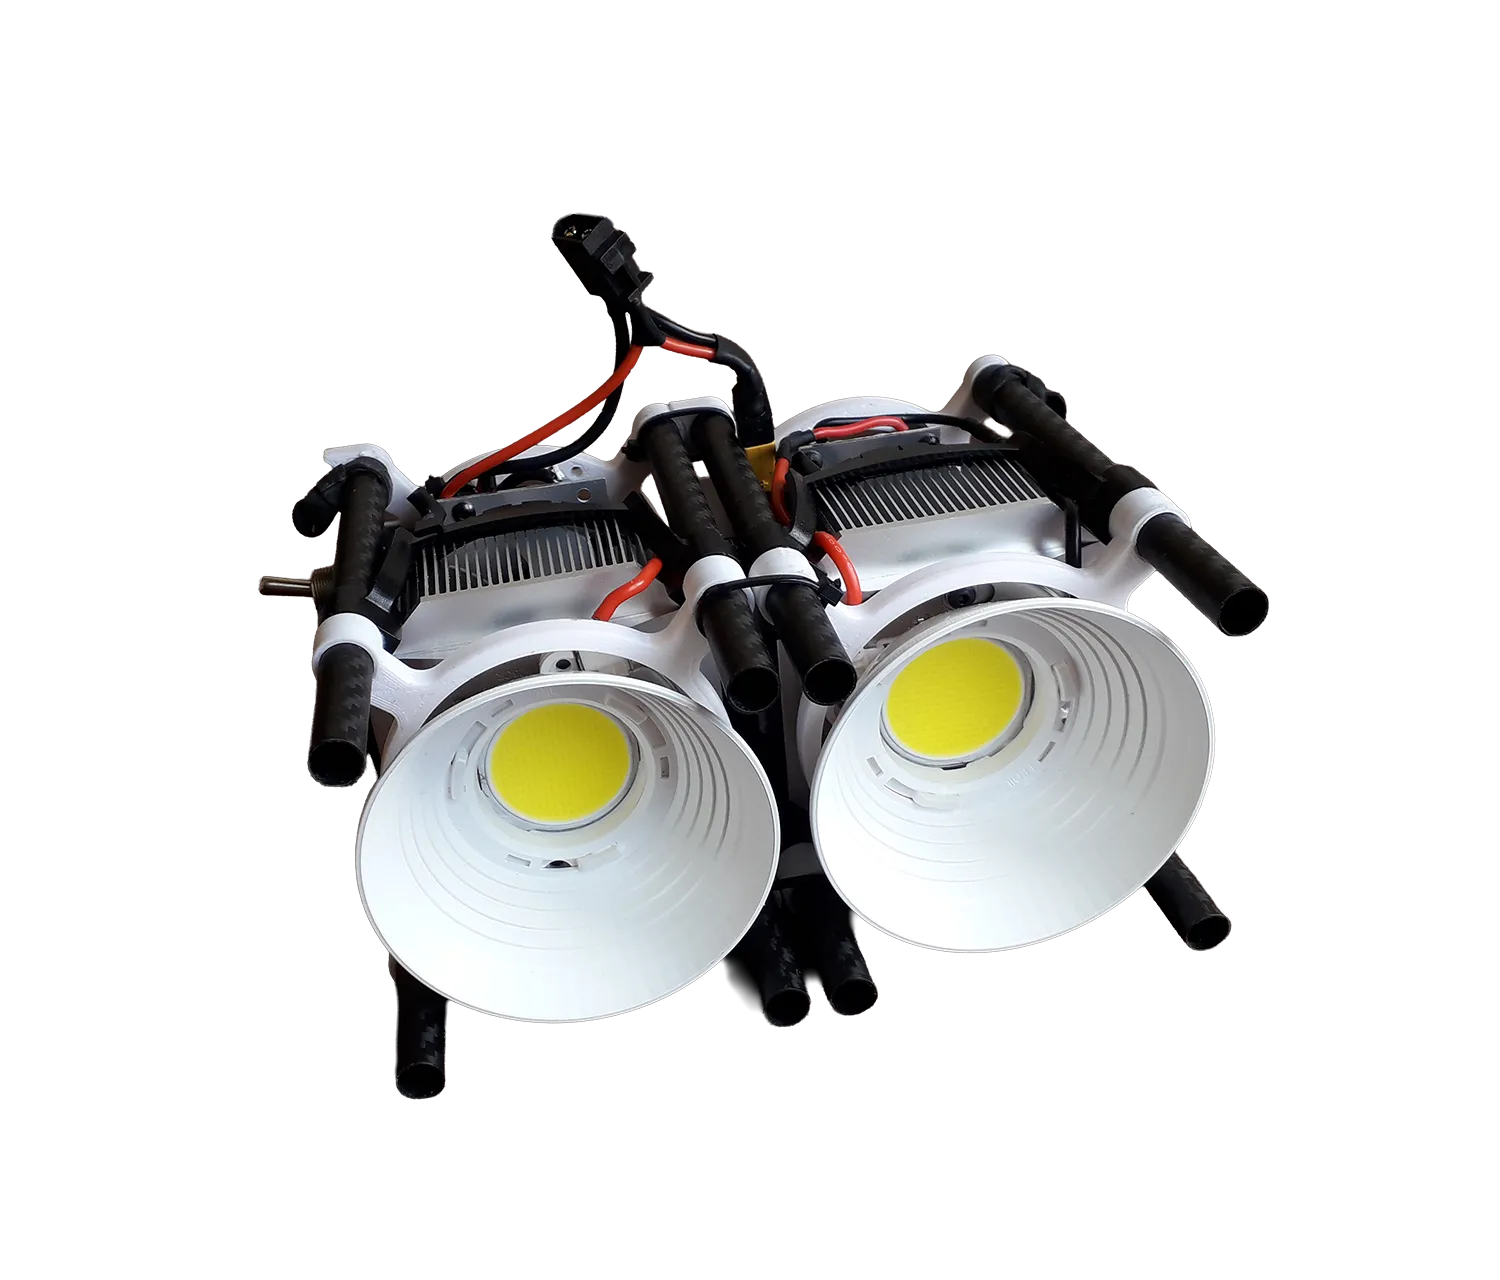
Although modern LEDs are significantly more efficient than incandescent bulbs, they still convert roughly two-thirds of the energy supplied into heat. This heat must be urgently dissipated from the LED chip, otherwise it will burn out like a shooting star. With a maximum efficiency of 35%, approximately 70-80 watts of heat energy must be dissipated from each LED. Looking for the lightest possible cooling solution, I opted for classic CPU coolers.
Assembly & Voltages
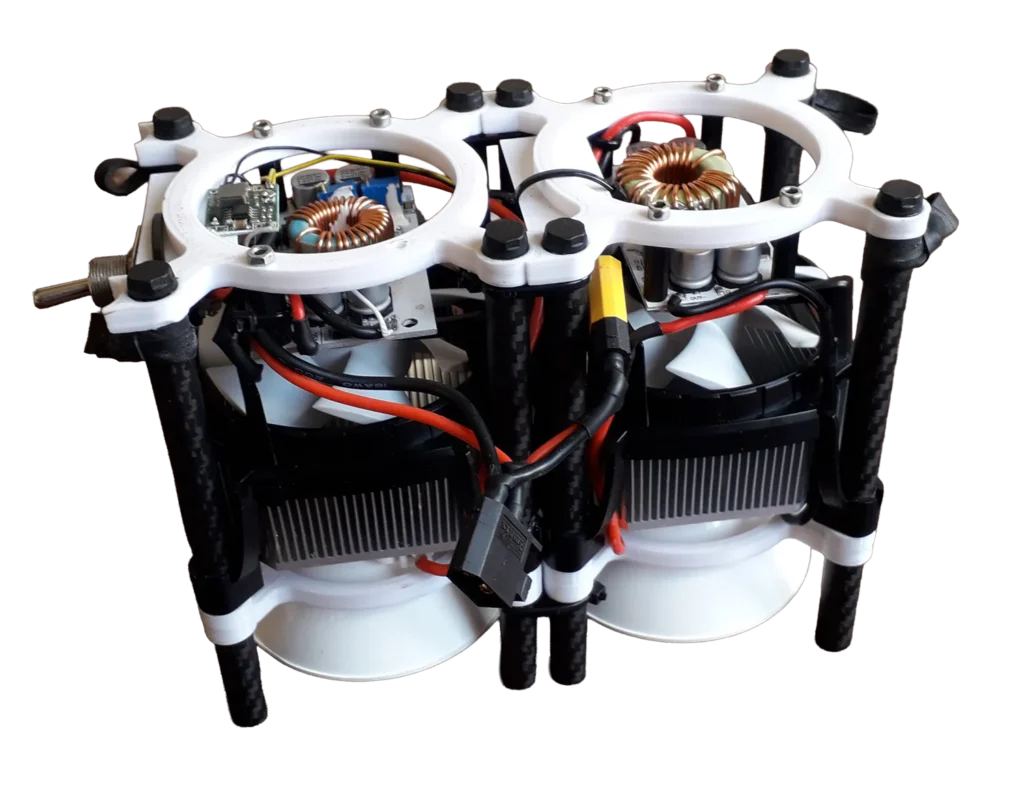
For each module I designed two 3D-printed parts that were connected via 10mm carbon fiber tubes. At the very top you can see the boost-converters that push the drones battery voltage of 14.8 Volts to the 36 Volts required by the LED’s. A step-down converter to 12 Volts is also necessary to feed the fans cooling the aluminium heatsinks, it is mounted on the left module. Both modules are connected via zip ties, the 3D-print is appropiatly formed to further strengthen the bond. A switch for deactivating the unit during ground tests rounds off the package. The entire bundle is attached to the drone using sturdy rubber rings that get connected to carbon fiber tubes at the belly of the drone.
Make that lumens fly!
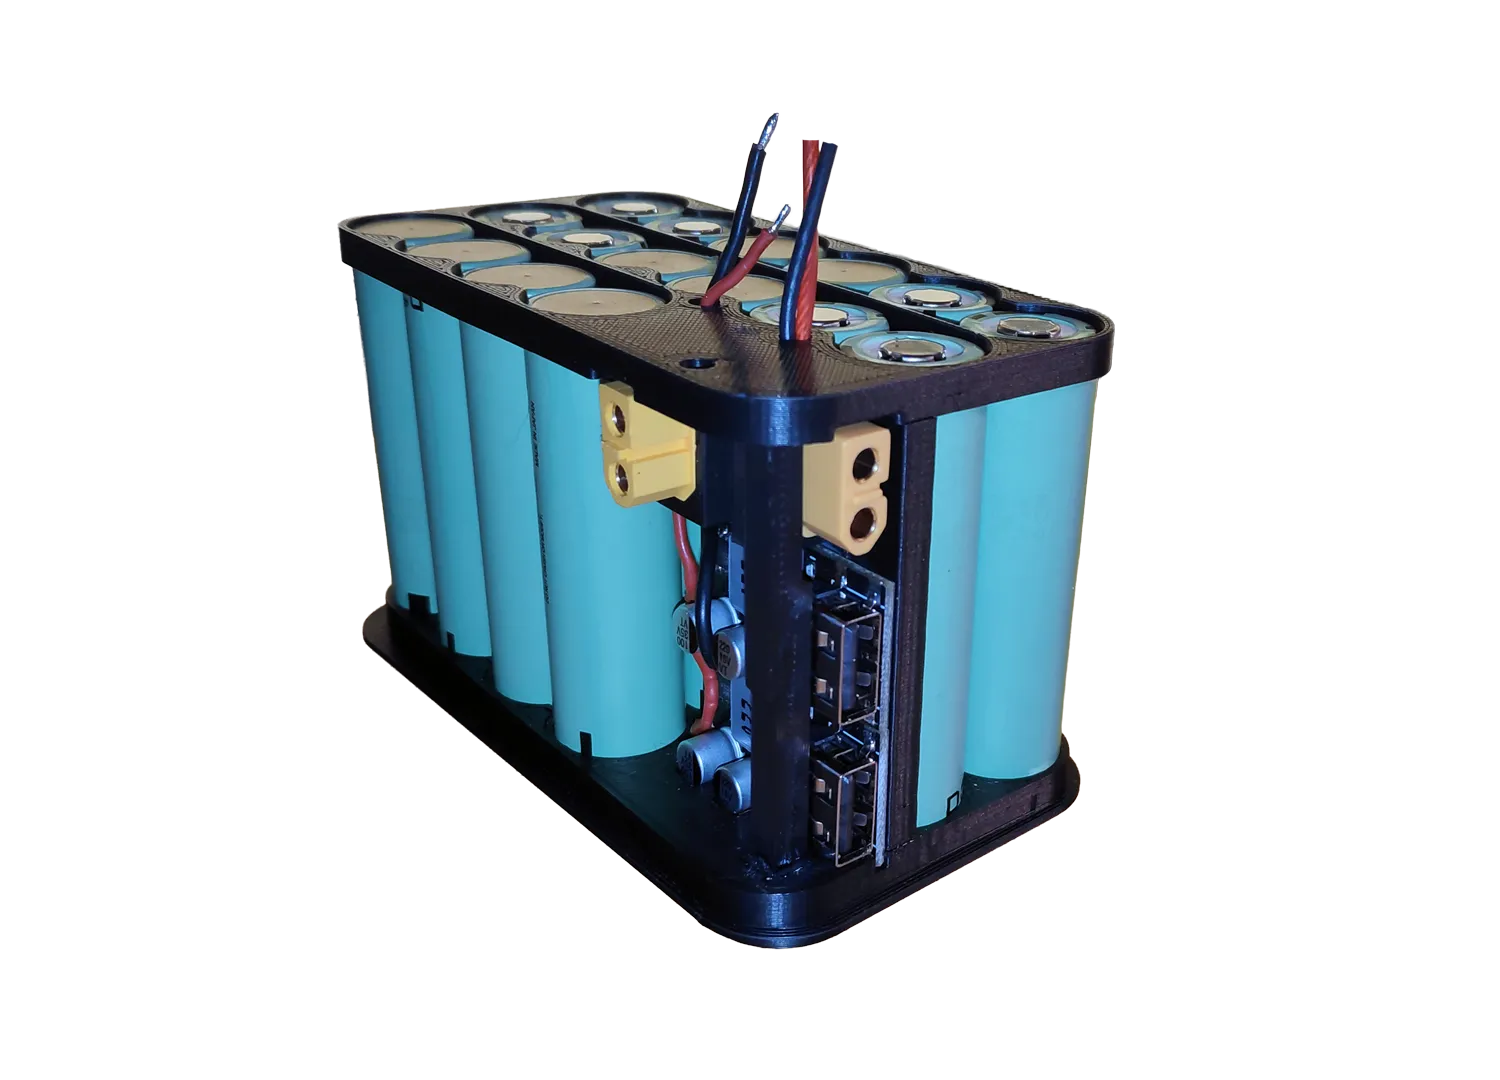
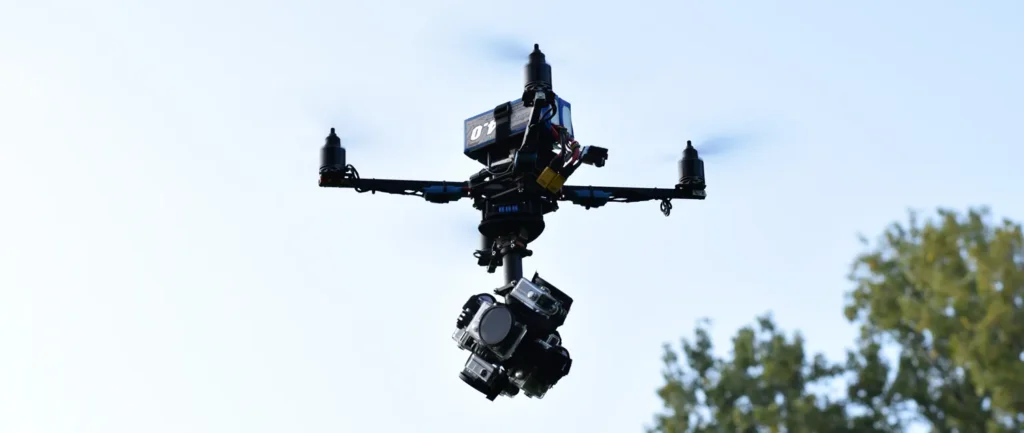
A suitable multicopter is required to keep the light module, which weighs a total of 850 grams, in the air for a reasonable amount of time. I still had a quadcopter from an older project in my collection that was suitable for this task. Aluminum frame, Naza-M flight control, 4x MT2820 motors with a total of around 2000 watts in combination with 13×6.5-inch propellers. The beast was powered by two 4s Lipo batteries, each with a capacity of 4000 mAh. I used this copter earlier to move a GoPro cube, consisting of 6 GoPros for 360° shots, through the air.
In order to control the lights from the ground, I installed a high-power RC switch connected to the flight batteries. This allowed me to switch the lights on and off at high frequency using the FrSky Taranis, simulating flashes of lightning for example.
Shooting day
Unfortunately, there are no pictures of the multicopter with the light module. I was a little tense on the day of filming due to the double workload – after all, I had to control both the light drone and the camera drone at the same time. I remember everyone on the team applauding when I landed both drones safely and the nighttime drone ballet was over.
Here is a short clip showing how I position both drones according to the producer’s specifications: